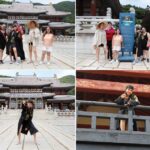
Seoul photographs itself here—if you know where to stand. This 2-hour street photo shoot blends traditional Korean history with guided photo stops, from Jongno’s major landmarks to the tucked-away lanes around Ikseon-dong. You’ll also get help shaping shots so they look intentional, not random.
I especially like the combo of a historian guide and a professional photographer—James and Jacob work in tandem so you get both context and great framing. The other standout is the photo payoff: you receive all edited photos with post-processing and color edits, plus a one-month OneDrive download link.
One thing to consider: it’s a moderate walking tour and not suitable for wheelchair users, so you’ll want comfortable shoes and a realistic attitude about going on foot.
In This Review
- Key points before you book
- Street photo walks work best when someone plans the angles for you
- Meeting at Jongno 3-ga and how the 2-hour flow actually feels
- Ikseon-dong hanok cafés: where your first photos get their personality
- Jongmyo Shrine: history you can see, and symmetry that photographs well
- Sewoon Arcade: the shaded corridor that makes photos look cinematic
- Cheonggyecheon at golden hour: the waterline that softens everything
- The missing piece: your last photo stop and why it matters
- What’s included in your photos (and what you should do to get the best results)
- Price and value: what $44 buys you in real terms
- Who this photo-history walk suits best
- Practical advice so you don’t lose time or comfort
- So, should you book this Seoul street photo tour?
- FAQ
- How long is the Seoul street photoshoot and history walking tour?
- Where do I meet the guide?
- What areas of Seoul will we visit?
- Is the tour good for solo travelers?
- What language is the guide?
- How many people are in the group?
- What photos do I receive after the tour?
- How do I download my photos?
- What should I bring?
- Are meals included and is an umbrella provided?
Key points before you book
- Small group (max 10) keeps the posing and photo guidance personal instead of rushed
- Historian + photographer means you’re not just snapping, you’re learning what you’re seeing and when to shoot
- Ikseon-dong hanok café lanes give you that classic courtyard-and-café look in a walkable area
- Jongmyo Shrine and Cheonggyecheon bring strong cultural and scenic contrast for a photo set that feels varied
- Sewoon Arcade corridors add texture—brick, angles, and shade—so your photos don’t all look the same
- Full photo editing included (not just raw files), with a one-month OneDrive download window
Street photo walks work best when someone plans the angles for you
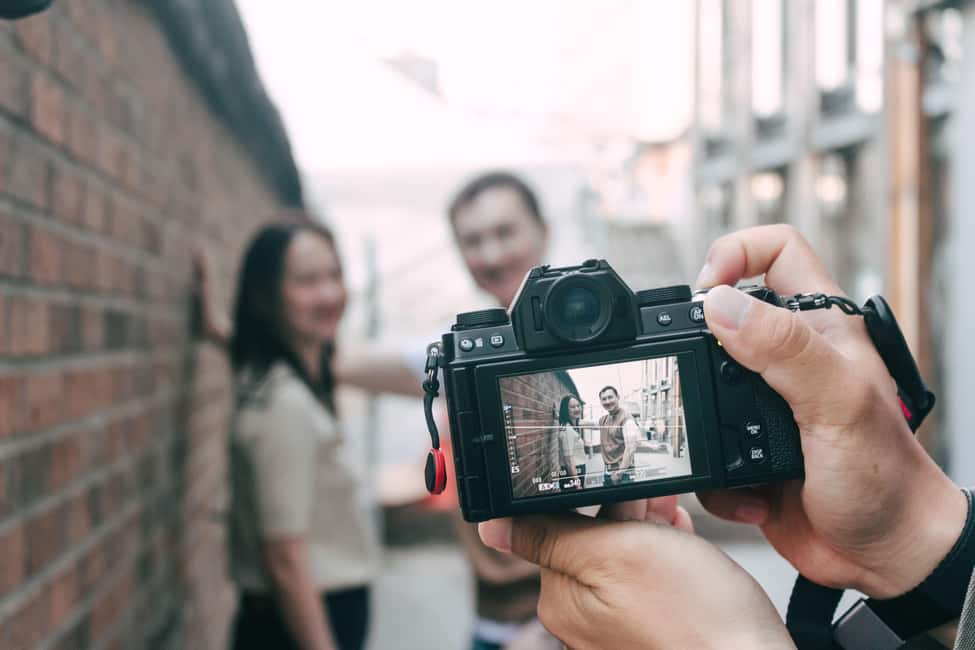
If you’ve ever tried to take a nice travel photo of yourself in a crowded city, you know the problem: you either look awkward or you miss the moment you came for. This tour solves that with a clear plan and professional photo support, while still giving you real context about Seoul’s culture and landmarks.
The format is simple. You meet near Jongno 3-ga Station, walk between a handful of photogenic stops, and pause often enough to get a few good setups. You’ll be guided on what to look for and where to stand, then helped to pose in a way that fits the space. The goal is to leave with photos that look like you knew what you were doing.
You can also read our reviews of more walking tours in Seoul

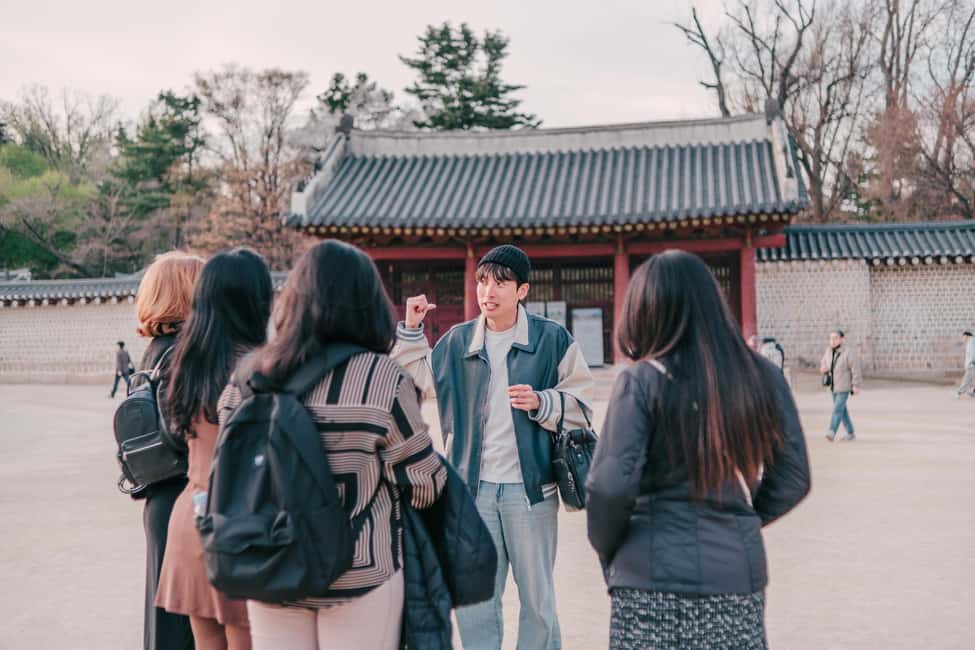
Meeting at Jongno 3-ga and how the 2-hour flow actually feels
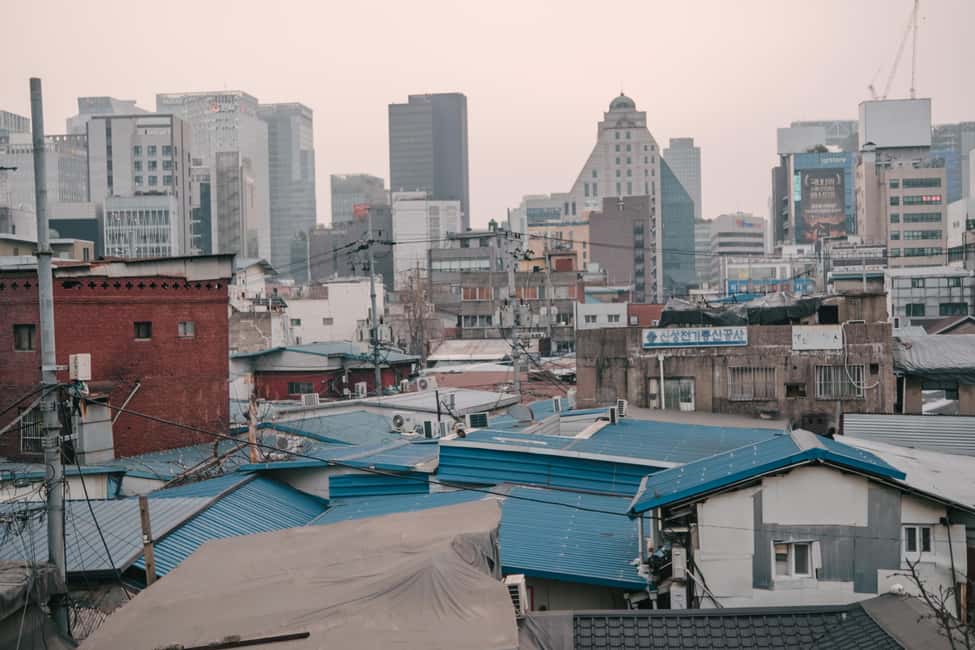
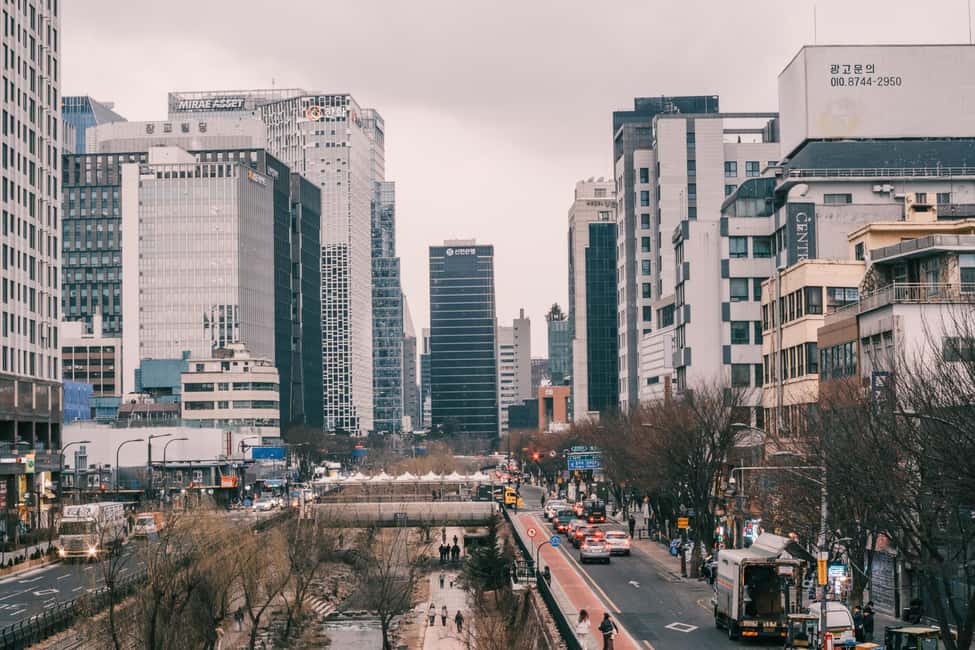
You’ll start at Jongno 3-ga Station, Exit 5. From there, the route keeps you in central Seoul and focused on areas that are easy to reach by subway, so you’re not spending your energy figuring out transport.
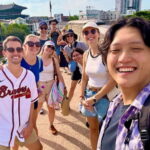
Because the group is limited to 10 participants, you’re less likely to get swallowed by the crowd at each stop. You’ll also get more hands-on help as the photographer adjusts positions, timing, and the small details that make a photo work—like your angle to a landmark or the way light hits a wall or walkway.
The tour ends in Ikseon-dong, which is a smart finish. It gives you a natural next step: wander for a coffee, browse nearby streets, and keep the “photo walk” vibe going without needing to travel again.
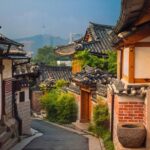
Ikseon-dong hanok cafés: where your first photos get their personality
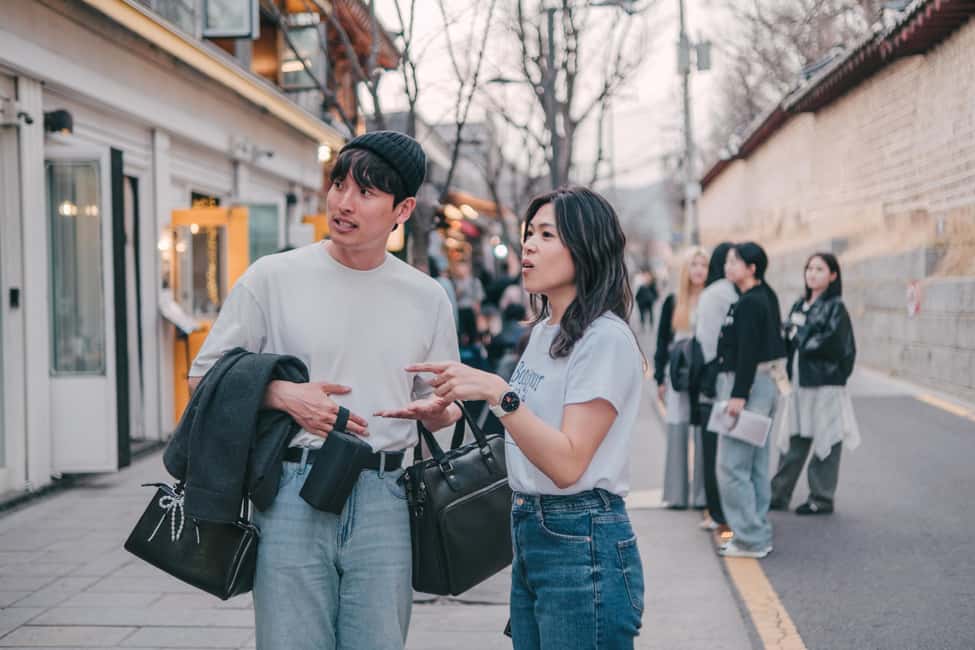
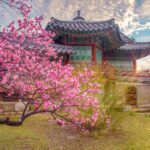
The tour kicks off with Ikseon-dong Hanok Village, including time for a photo stop and a guided walk through the lanes. This is where you’ll likely get your first taste of the style of the tour: you’re learning the place, then immediately translating that into images.
Ikseon-dong is known for the hanok look, and that matters because it gives you visual variety right away—traditional-style architecture, narrow alleys, and the kind of café frontage that looks good in both wide shots and tighter portraits. If you’re traveling solo, this is a great area to start because the guides can help you feel comfortable posing without turning it into an awkward performance.
A practical note: you’ll want your comfortable shoes here. The routes through old-style streets tend to be uneven and sometimes narrow, and you’ll be stopping frequently.
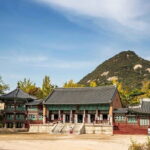
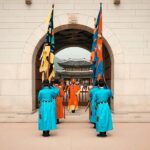
Jongmyo Shrine: history you can see, and symmetry that photographs well
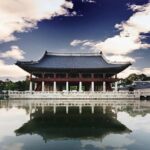
Next up is Jongmyo Shrine. This is one of the stops that turns the tour from cute street photos into something deeper. You’ll get guided storytelling around what you’re seeing, plus photo time that takes advantage of the shrine’s structured layout and strong lines.
Jongmyo works well for photos because it offers clean visual geometry. Even if you’re not a photography nerd, you’ll notice it: the architecture helps your images feel balanced. That’s also why this is a good time for the photographer to guide you. When the place has strong structure, your pose and placement matter even more—otherwise the photo can feel flat.
Respect matters at shrine sites. You’ll be walking and photographing, but you’ll also be there for cultural context, not just visuals. The tour’s historian angle helps you understand what you’re looking at while you shoot, so your photos feel connected to the story—not just the setting.
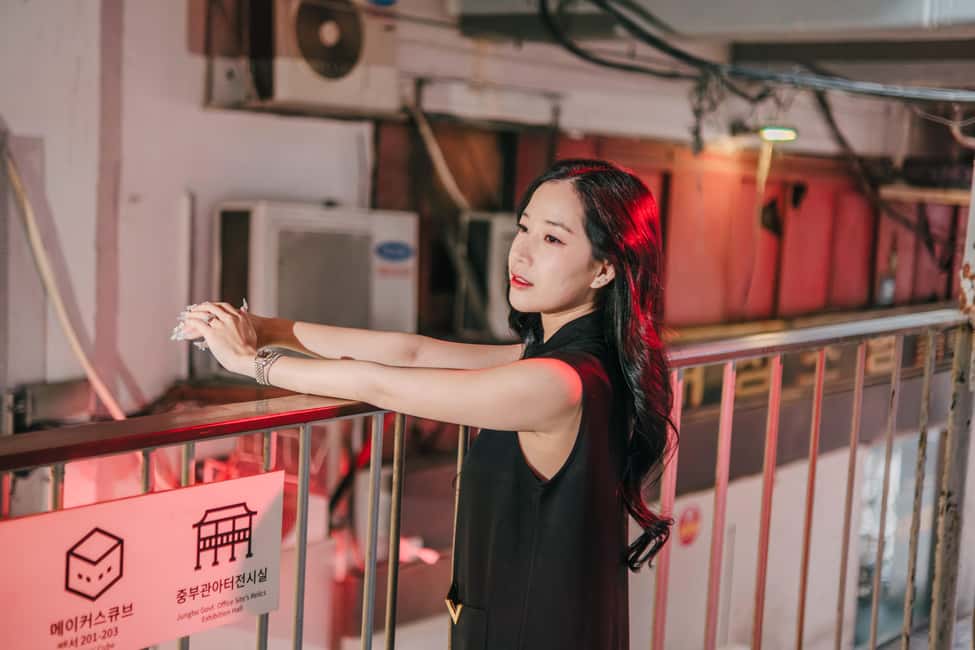
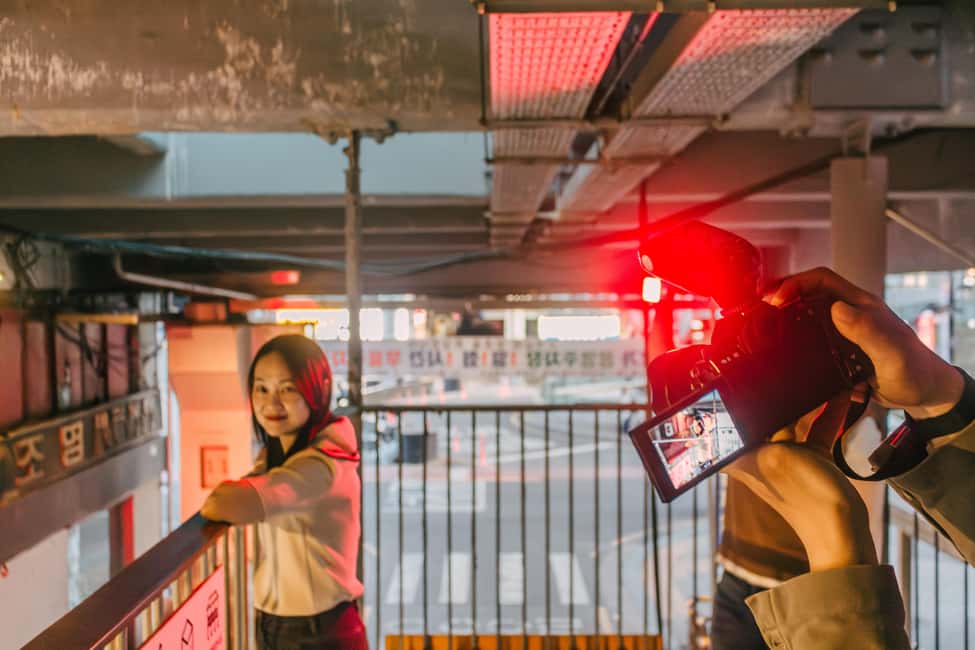
Sewoon Arcade: the shaded corridor that makes photos look cinematic
Then the tour heads into Sewoon Arcade, a covered market-like complex that gives you a totally different look than open-air streets. Here’s why it’s valuable for your photo set: it’s visually busy, but in a controlled way. You get texture, repeating shapes, and shadows that can add drama without needing fancy gear.
In the tour flow, Sewoon Arcade is visited more than once. That’s a clue that your photographer wants different looks—same area, different angles or timing, which often produces variety in the final edited set. If your goal is to come home with a consistent series of photos instead of 10 nearly identical shots, this repetition with intent helps.
Watch your steps. Covered arcades can have uneven ground and close walkways, and you’ll be stopping quickly for photos. Comfortable shoes really earn their keep here.
You can also read our reviews of more historical tours in Seoul


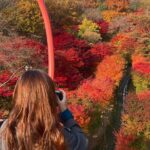
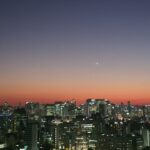
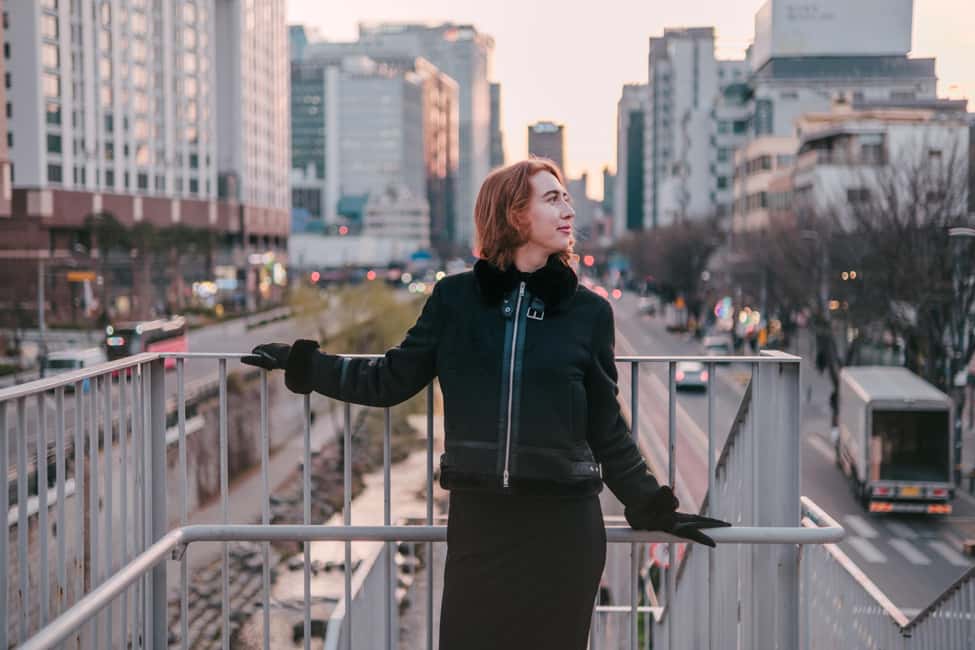
Cheonggyecheon at golden hour: the waterline that softens everything
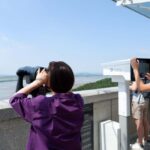
After the arcade, you’ll spend time at Cheonggyecheon, where the tour focuses on scenic views and photo-friendly conditions. The “golden hour” angle matters: when the light shifts, the water and surrounding buildings give you softer tones and more flattering contrast for portraits.
Cheonggyecheon is also a mood-change stop. Instead of repeating streets and corridors, you get an open linear space that naturally leads your eye through the frame. For solo travelers, that’s especially useful. It’s easier to make your photos feel intentional when the environment has clear lines and you’re not constantly dodging obstacles.
Bring water and keep an eye on the weather. This part of the walk is still outdoors, and the tour notes encourage you to dress for conditions and hydrate. Sunscreen is also a good idea even when clouds show up.
The missing piece: your last photo stop and why it matters
Your tour includes another final photo stop before returning to the start area. Even when the last stretch is brief, it’s often where you’ll get a different outfit vibe or a change in background, so your photo set doesn’t feel like it all came from the same few locations.
I like these “extra” photo moments because they let you correct what you figured out earlier. For example, you might learn how the photographer likes you to angle toward light, then apply that in the final stop for a cleaner result.
If you want variety, this structure helps. If you just want one perfect shot, it can also feel like overkill—but the edited-photo package makes it worth it.
What’s included in your photos (and what you should do to get the best results)
Here’s the part that most people care about: you get all edited photos, including post-processing and color edits. You don’t just get a handful of usable frames. You’ll also receive a downloadable Microsoft OneDrive link, available for one month.
That’s value, because your time after the tour matters too. Editing can be time-consuming if you’re doing it yourself, and it’s hard to get consistent color across a whole day of photos. With this setup, you’re more likely to end up with a set you actually want to keep and share.
To get the best results during the shoot, come prepared:
- Camera if you have one, and your guide can help with basic photo positioning
- Hat for sun and to avoid squinting
- Sunscreen so your face looks natural in photos
- Water so you’re not running out of energy halfway through
- Comfortable clothes so posing feels normal
The guides also focus on making you comfortable in front of the camera. That’s not small talk—it changes how your body moves. When you’re relaxed, your photos tend to look better.
Price and value: what $44 buys you in real terms
At $44 per person for about 2 hours, this isn’t just a basic walking tour. You’re paying for two things that usually cost extra separately: a guide who explains what you’re seeing and a photographer who helps produce polished portraits.
You also get the edited-photo package and a OneDrive download link. That shifts the value away from “entertainment” and toward “content you can keep.” If you’re the kind of traveler who wants photos that look intentional (especially solo), this price can feel fair quickly.
Are you paying for everything? Yes, but not in a vague way. The tour provides the storytelling, the photo direction, and the editing deliverable. If you’re okay with a standard walking tour and you only care about your own phone photos, this may feel like overkill.
Who this photo-history walk suits best
This is a strong fit for:
- Solo travelers who want photos with themselves in them without resorting to awkward timer attempts
- Couples and friends who want portraits that look planned, not random
- People who like the mix of traditional culture + city photography rather than one or the other
- Anyone who enjoys a short, efficient route through major and lesser-known areas without a full-day commitment
It’s less suitable if:
- You have mobility impairments or use a wheelchair, since the route is walkable and not listed as wheelchair-friendly
- You hate walking for even moderate distances
- You’re traveling with the expectation of meals being included (meals are not provided)
Practical advice so you don’t lose time or comfort
A few small choices make the tour easier:
- Wear comfortable shoes. You’ll be walking and stopping often.
- Bring a water bottle. The route includes outdoor time.
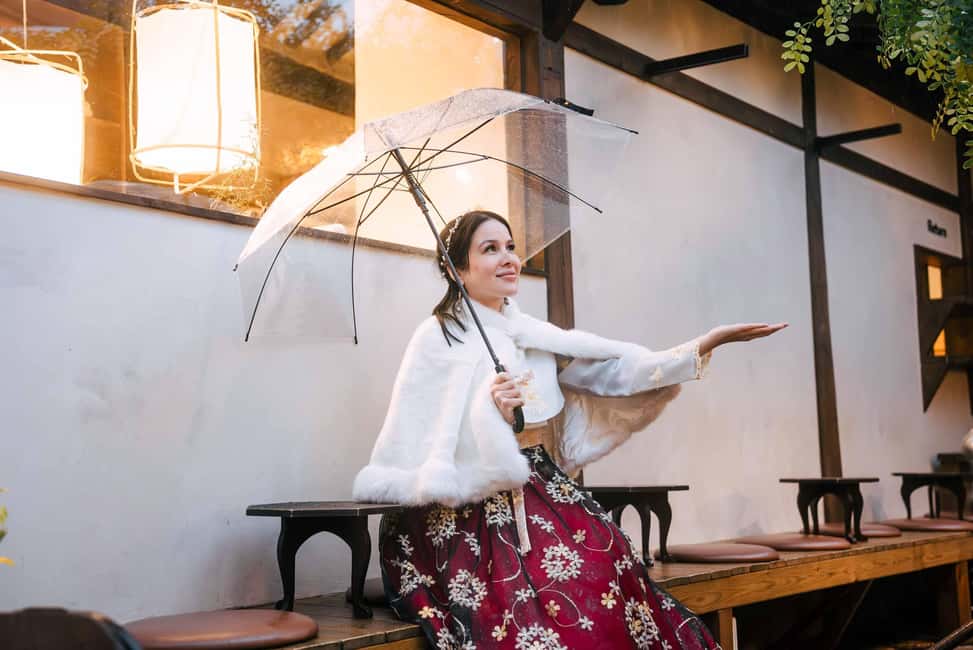
- Check the weather. Umbrellas aren’t included, so plan for rain or sun.
- If you’re using your phone, still bring it—but wear something you’re comfortable standing in for photos.
Also, tip to remember: this is a guided photo shoot with history. If you treat it like a casual stroll, you’ll get less value out of the photo coaching. If you treat it like a photo session with learning built in, you’ll leave happier.
So, should you book this Seoul street photo tour?
I’d book it if you want two outcomes at once: clearer understanding of what you’re seeing and a set of photos that actually look like they belong together. The small group size, the historian-style storytelling, and the edited-photo delivery with OneDrive make the $44 price feel anchored, not inflated.
Skip it if you only want raw street scenes, don’t care about being photographed, or you’d struggle with moderate walking. Otherwise, it’s one of the smartest ways to get great Seoul photos without spending your whole trip chasing perfect angles.
FAQ
How long is the Seoul street photoshoot and history walking tour?
The tour lasts about 2 hours.
Where do I meet the guide?
You meet at Jongno 3-ga Station, Exit 5.
What areas of Seoul will we visit?
You’ll visit areas including Ikseon-dong (Hanok Village), Jongmyo Shrine, Sewoon Arcade, and Cheonggyecheon.
Is the tour good for solo travelers?
Yes. The tour is designed to be a good option for solo travelers, since it includes guided photo setups and the chance to get photos of yourself.
What language is the guide?
The live guide offers English and Korean.
How many people are in the group?
The tour is a small group limited to 10 participants.
What photos do I receive after the tour?
You receive all edited photos, including post-processing and color edits.
How do I download my photos?
You get a downloadable Microsoft OneDrive link that is available for one month.
What should I bring?
Bring comfortable shoes, a hat, a camera (if you have one), sunscreen, and water, plus comfortable clothes.
Are meals included and is an umbrella provided?
Meals are not included, and an umbrella is not included.