REVIEW · PHOTOGRAPHY SESSIONS
Your Personal Seoul Photographer!
Book on GetYourGuide →Operated by Your Seoul Photographer · Bookable on GetYourGuide
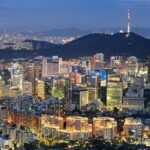
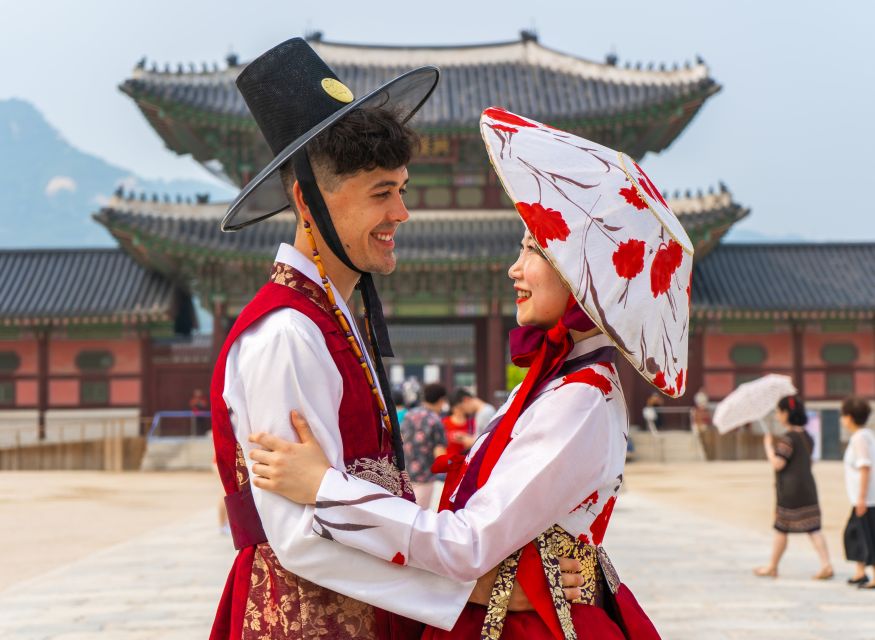
A photographer in Seoul fixes your selfie problem fast. This tour pairs expert posing guidance with iconic sights like Gyeongbokgung Palace, plus time in Bukchon Hanok Village for photos that feel classic, not accidental. The main trade-off: it’s a short 90-minute walk-based session, so you’ll be moving, not lingering for hours.
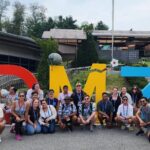
I like that you’re not just sightseeing—you’re being pointed to the best angles and then helped stand in the right spot. With a small group (max 5), you get more attention, and it stays practical even when the area is crowded. Henri (Finland) put it well from his solo perspective: he usually struggles to get himself in photos, and hiring Gilson made it easy.
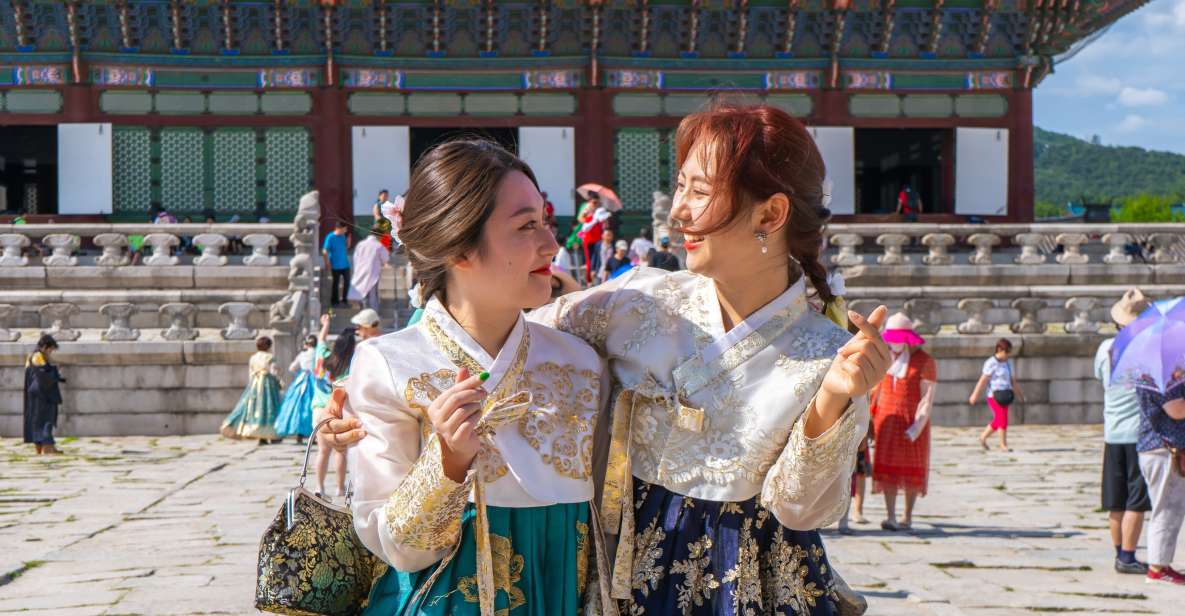
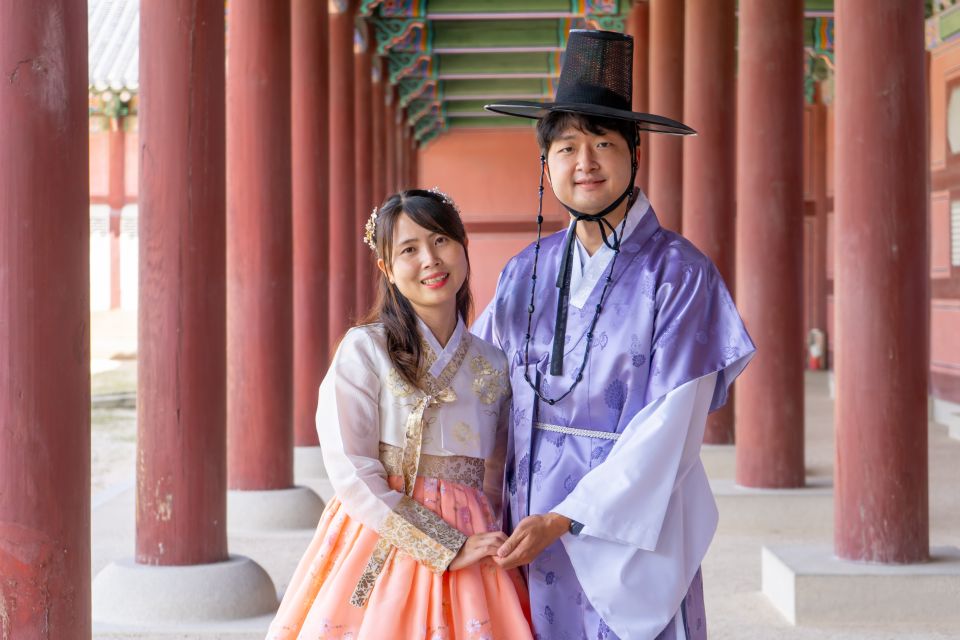
You can also bring your own hanbok for a traditional look (the tour doesn’t provide it), and you’ll leave with photos ready to share. I especially like that you get an email delivery of at least 30–40 edited images with simple color correction within 3 business days, so you don’t have to wait forever to post. If you want a specific mood—romantic, traveler-style, even something that nods to the Choson Dynasty look—this is the kind of shoot where you can discuss that in advance.
In This Review
- Key things you’ll get from this Seoul photo experience
- Starting at Anguk Station: a meetup that keeps things easy
- Gyeongbokgung Palace portraits: better light, better angles, less stress
- Bukchon Hanok Village and Samcheong-dong streets: traditional charm with real camera direction
- The 90-minute rhythm: how you actually get enough photos to be happy
- Price and value: $120 for 30–40 edited images plus direction
- Small group of up to 5: why that matters for photos
- Getting the hanbok look: bring it, prep it, wear it your way
- Practical tips before you book
- Should you book this photo experience?
- FAQ
- How long is the photo experience tour?
- Where do I meet the guide?
- What does the tour include?
- How many photos will I receive?
- When will the photos be delivered by email?
- Is hanbok included in the tour?
- Is the tour limited to a small group?
- What languages are available for the live guide?
- Do I need comfortable shoes?
- Is there a cancellation policy and can I reserve without paying immediately?
Key things you’ll get from this Seoul photo experience
- Posing coaching on location so you’re not guessing where to stand
- Gyeongbokgung Palace photo time with guided sightseeing and portrait-ready spots
- Bukchon Hanok Village alleys for traditional textures and softer street scenes
- At least 30–40 edited photos emailed within 3 business days
- Small group (up to 5) for less waiting and more actual shooting
- Optional hanbok, bring your own if you want that extra traditional look
Starting at Anguk Station: a meetup that keeps things easy
The tour begins at Anguk Station Exit 1, which is convenient because it puts you near the Bukchon area without needing complicated transfers. From there, the plan is on foot, so you’ll feel the neighborhoods as you walk—rather than hopping between far-apart points.
This matters because great photos are often about the small transitions: turning a corner, catching a better angle of a roofline, or finding a calmer edge of a crowded viewpoint. With this format, you get a tight route that still gives you variety across palace and hanok streets.
You can also read our reviews of more photography tours in Seoul

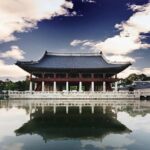
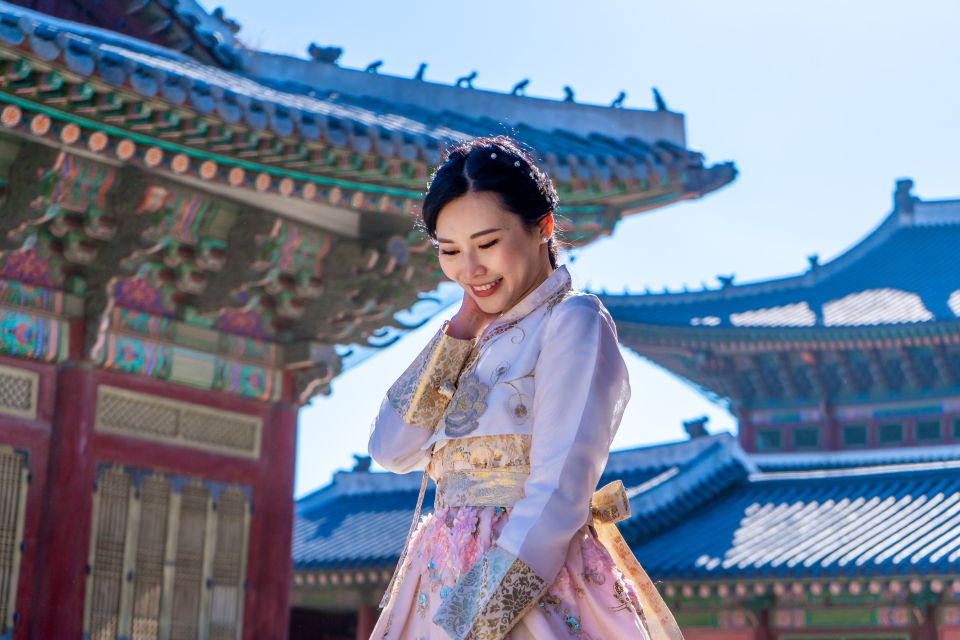
Gyeongbokgung Palace portraits: better light, better angles, less stress
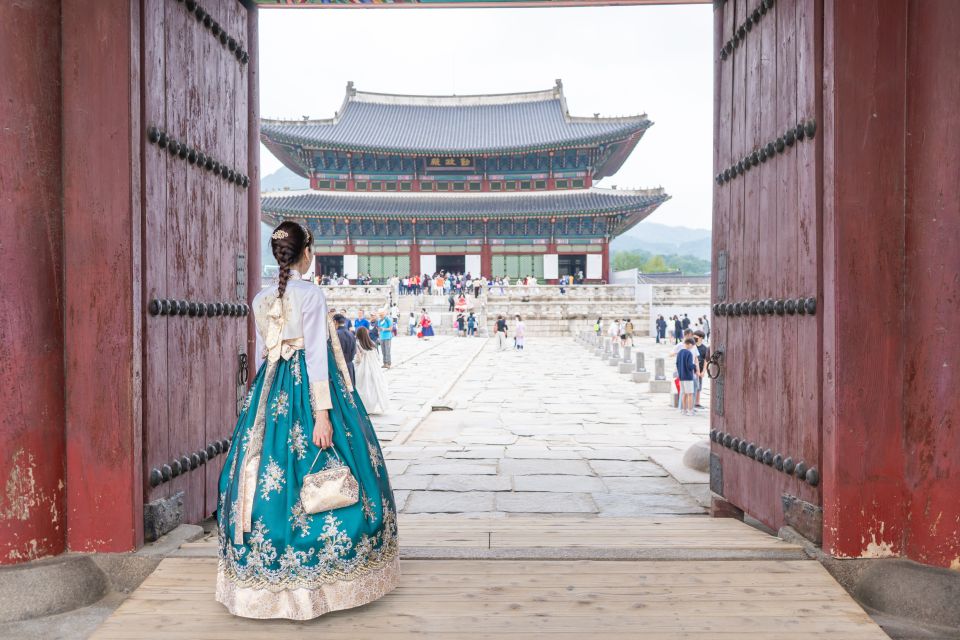
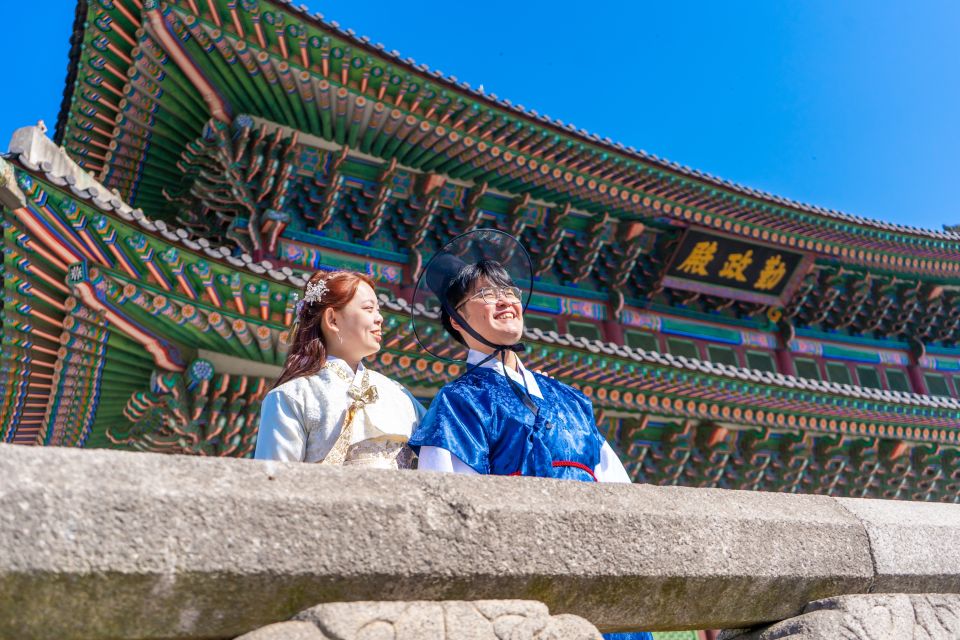
Gyeongbokgung Palace is the star when it comes to Seoul’s dramatic, historical backdrops. You’ll spend about 40 minutes here with a mix of photo stops, guided sightseeing, and time to actually look around, not just rush past.
What makes the photo part work is the hands-on direction. Gilson helps you with poses based on the place and the view, which is especially helpful in a palace setting where backgrounds are strong and you need your stance to match the scene. Henri highlighted that Gilson knew the best photo spots in both the palace and Bukchon, and the group still got great shots even with crowds.
Practical tip: palace areas can get busy, so don’t expect to have a whole wall to yourself. The value here is that you’re not filming your own luck—you’re getting guidance to work with what’s in front of you: where to position, how to angle your body, and how to frame yourself so the photo still looks composed.
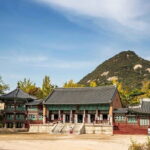
Bukchon Hanok Village and Samcheong-dong streets: traditional charm with real camera direction
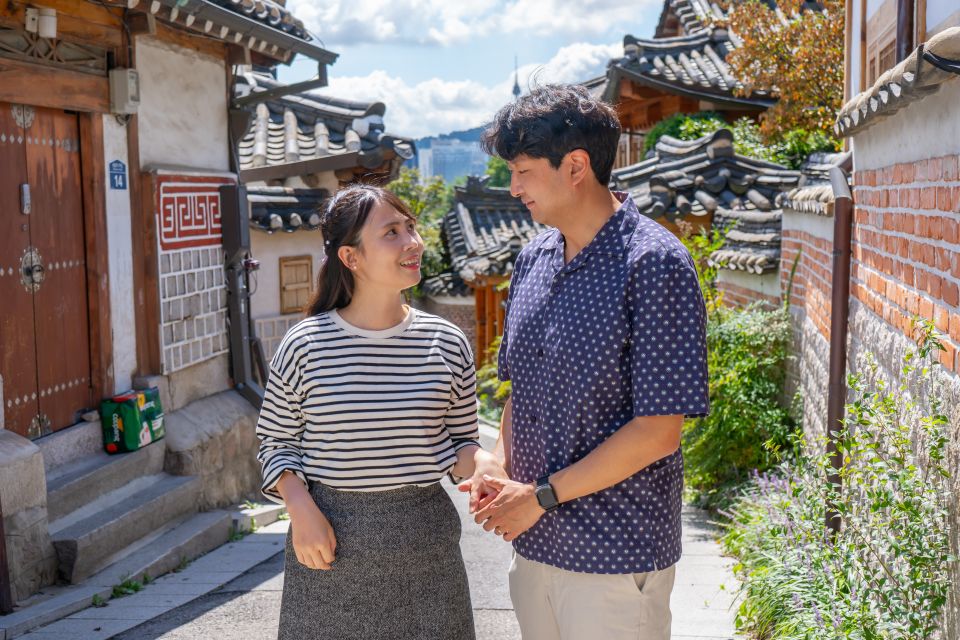
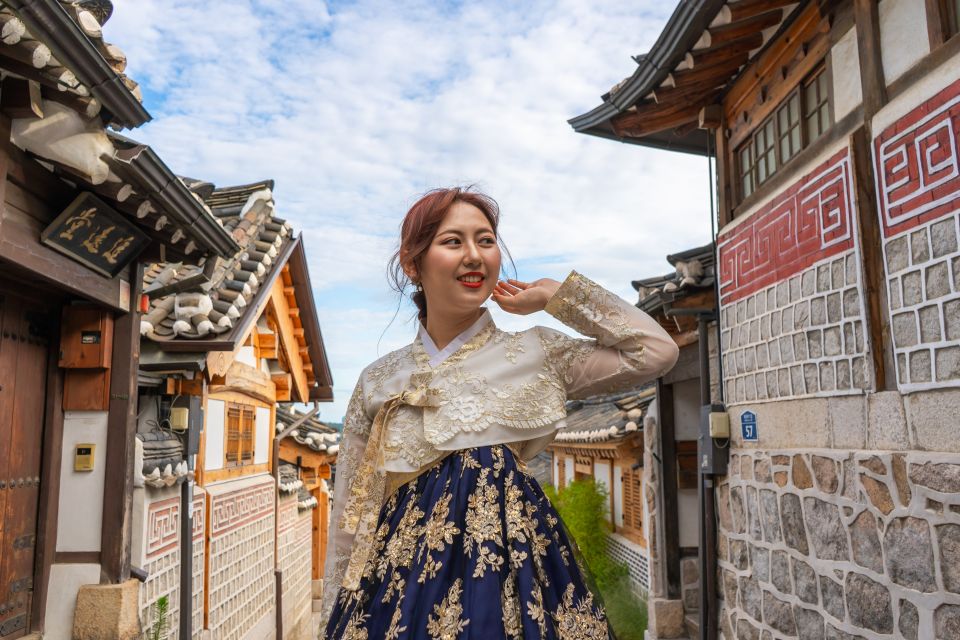
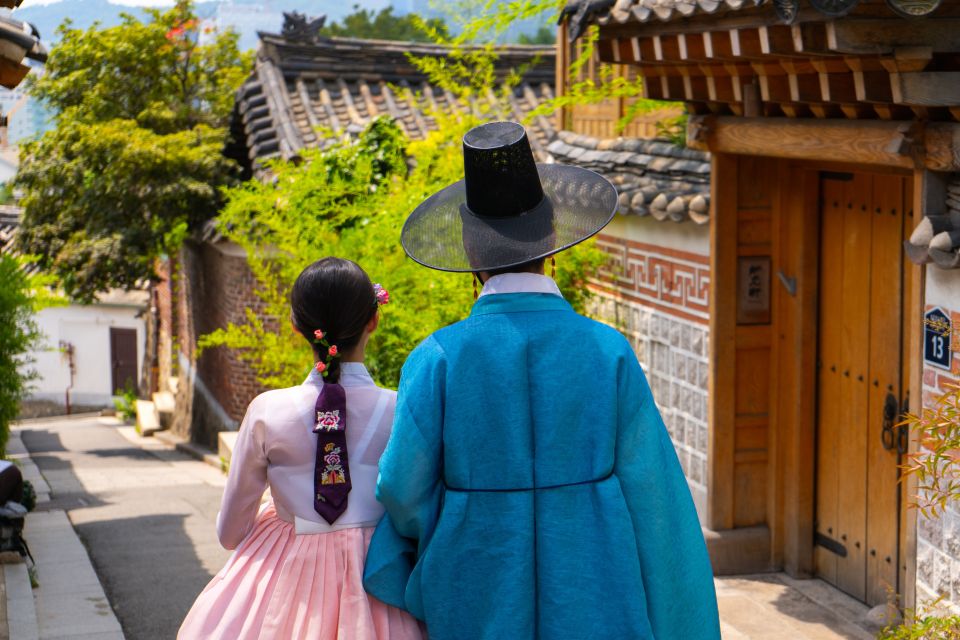
Next comes Bukchon Hanok Village, one of the places where Seoul instantly looks like another time. You’ll get about 30 minutes for guided exploring and photo stops, walking through parts of the village where the buildings and alleys give you strong textures behind you.
And while the schedule calls out Bukchon specifically, the experience also includes photo time across Samcheong-dong as part of the overall route. In practice, that means you’re not only stuck with one type of background—you’re mixing palace grandeur with smaller street scenes that can feel more personal.
This is where posing help really pays off. In tight lanes and under traditional roofs, standing casually can make you look stiff or accidentally block the best lines. Gilson’s approach (described by past participants) focuses on angles and making you feel comfortable so you can move naturally while the camera does its job. Mafalda (Portugal) said he understands angles and leaves you at ease, and that her second session with him confirmed the difference.
Also, don’t underestimate how much the surroundings affect how you look in photos. In Bukchon, small steps—one meter left or right—can completely change the background. This tour is designed so you’re not stuck with one spot for the whole time.
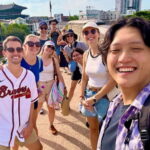
The 90-minute rhythm: how you actually get enough photos to be happy
This experience is 90 minutes total, which sounds short until you realize what it’s trying to fix. A do-it-yourself photo plan in Seoul often collapses into a few blurry shots, a lot of waiting, and then you spend the rest of the day searching for the “right” place to retake.
Here’s how it’s set up:
- You meet at Anguk Station Exit 1
- You walk between stops
- You get a defined amount of photo time at Gyeongbokgung and Bukchon
- You return to Anguk Station
That pacing is ideal if your goal is to leave with photos you’ll actually post. Past participants specifically praised the results: Henri called the pictures A-class, and Kenny (France) liked that it worked perfectly even with only two people, with good energy and Gilson guiding throughout.
If you’re the type who likes slow, solo wandering for hours, you might want a different kind of tour. But if your vacation plan includes a lot of sightseeing and you want a strong “self-portrait” set to balance out the landmarks, this timeframe makes sense.
Price and value: $120 for 30–40 edited images plus direction
The price is $120 per person for a 90-minute photo experience with guided sightseeing and edited delivery. On paper, that can look like a lot—until you break it down into what you get:
You’re paying for:
- A photographer’s on-the-ground direction (posing + framing)
- Access to the right spots in two major areas
- At least 30–40 edited photos
- Email delivery with simple color correction within 3 business days
- Small-group attention (max 5)
That’s the key value point: you’re not just buying photos. You’re buying the process that creates good photos—someone choosing angles, managing the scene, and telling you what to do so you don’t waste time trying to figure it out mid-trip.
If you’ve ever spent a vacation asking strangers to take pictures (and then regretted the results), this tour is a clean solution. It’s also a good deal compared to doing multiple separate photo sessions or booking extra time with a generic portrait photographer who might not know how to work palace-and-hanok backgrounds efficiently.


Small group of up to 5: why that matters for photos
This is a small group tour limited to 5 participants. That’s not just a comfort detail—it changes what your photos will look like.
With a tiny group, you’re less likely to wait your turn while everyone shuffles into position. You can also move more smoothly between shots, and the photographer can adjust guidance quickly if the light shifts or if a spot gets too crowded.
Kenny noted it was just two people and that felt perfect. That lines up with the idea that this tour is meant for focused attention, not a big-group production where you take one quick image and move on.
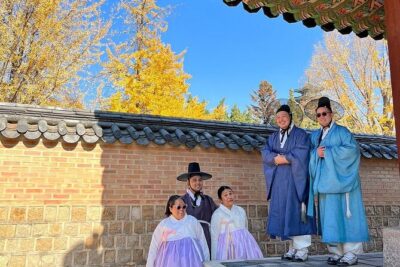
Getting the hanbok look: bring it, prep it, wear it your way
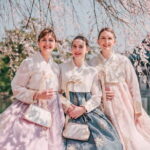
You can join with hanbok, but you have to be fully prepared before the trip—this experience doesn’t provide outfits. If you want that traditional look for portraits in Bukchon (and possibly palace backdrops too), this is a simple way to add character without turning your day into an outfit hunt.
Before you go, make sure your hanbok is comfortable to walk in. Since the tour involves on-foot segments, you’ll want something you can move in without constantly adjusting. Wearing a hanbok you know how to wear also helps you get better photos, because you’ll look more relaxed instead of self-conscious.
Practical tips before you book
This tour works best when you show up ready for photos, not just landmarks. Here are the key things you control:
- Wear comfortable shoes because you’ll walk during the photo session.
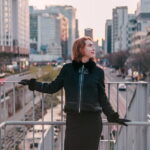
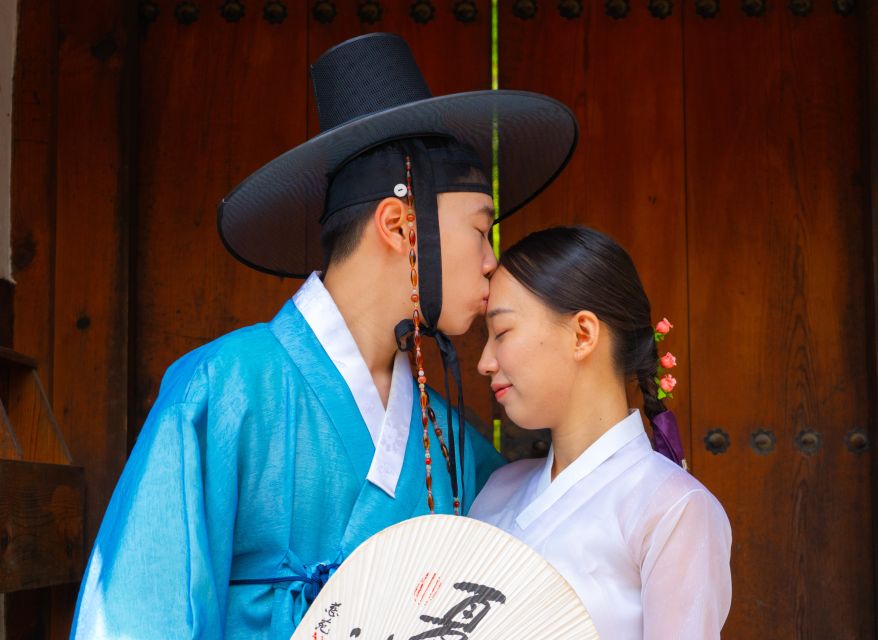
- Think about your photo mood ahead of time. The experience invites you to discuss the style or mood you want (romantic couple, traveler vibe, or something that feels inspired by older royal-era aesthetics).
- Bring your own hanbok if you want it. The tour won’t supply it.
- Plan for crowds, especially near palace areas. The benefit here is that you’re not handling it alone—you get guided help to work around busy spots.
Also, the guide and photographer supports multiple languages: English, Portuguese, Spanish, and Korean. That can make a big difference in how quickly you understand posing direction.
Should you book this photo experience?
If your main goal is to get great pictures of yourself in Seoul—without spending half your day improvising—book it. The standout strengths are consistent: Gilson’s friendly, professional energy; practical posing guidance; and photos that arrive edited and ready to post within a few days. Henri’s solo experience is a perfect example of why people choose this: you get images you can actually share, not just proof you were there.
You might skip it if you’re planning a slow, deep sightseeing day and don’t want any structured photo instruction. This is a photo-forward experience with a clear route and limited time at each stop.
If you want a solid set of palace + hanok portraits, delivered fast, in a group small enough to matter, this one fits the bill.
FAQ
How long is the photo experience tour?
The tour lasts 90 minutes.
Where do I meet the guide?
Meet at Anguk Station Exit 1.
What does the tour include?
It includes guided sightseeing of unique landmarks, exploration of traditional village alleys, photo stops at Bukchon Hanok Village and Gyeongbokgung Palace, posing guidance, and email delivery of edited photos.
How many photos will I receive?
You’ll receive at least 30–40 edited photos per person.
When will the photos be delivered by email?
Photos are sent by email within 3 business days after the tour.
Is hanbok included in the tour?
No. You’re welcome to join in hanbok, but you must provide and prepare your own hanbok before the trip.
Is the tour limited to a small group?
Yes. It’s limited to 5 participants.
What languages are available for the live guide?
The live tour guide is available in English, Portuguese, Spanish, and Korean.
Do I need comfortable shoes?
Yes. You should wear comfortable shoes since you will walk during the photo session.
Is there a cancellation policy and can I reserve without paying immediately?
You can cancel up to 24 hours in advance for a full refund, and you can reserve now and pay later to keep plans flexible.